Introduction to Photoshop

Tutorial for Beginners

Picture of Hayley Butler

Hayley Butler

You’re interested in learning to use Photoshop! That’s awesome! It’s a fabulous editing tool for both professional and recreational use. Every new program can look daunting at first, so it’s important to learn the basics and get comfortable with what the software can do and how it works before digging in to some more sophisticated projects. In this article and corresponding video tutorial, we’ll be taking a look at the tools Photoshop has to offer, how to set up a project, and some simple ways to make your photos look better. Let’s have some fun! 

Getting Started...

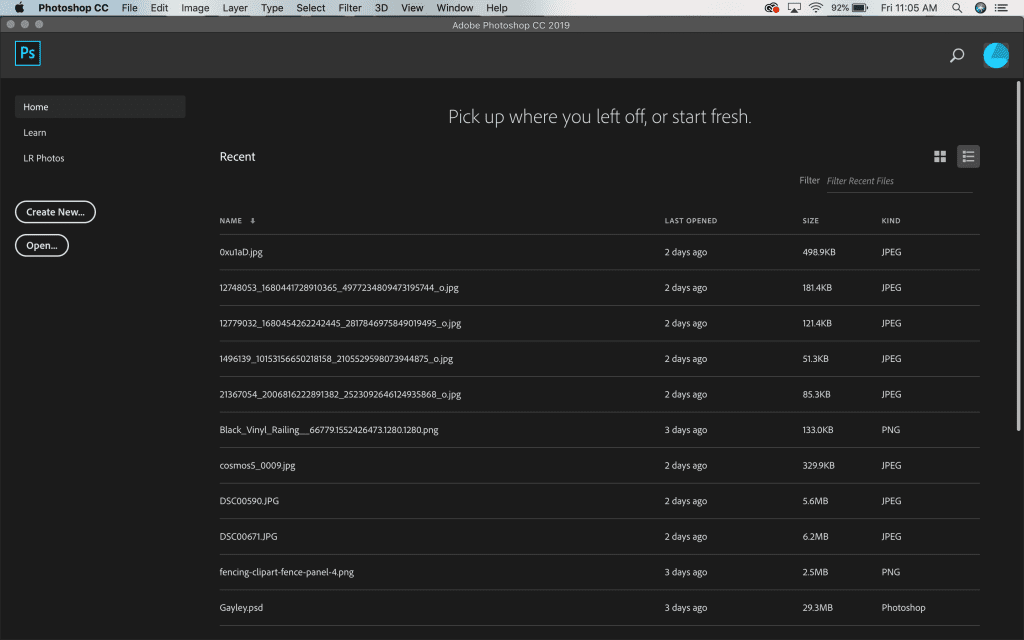
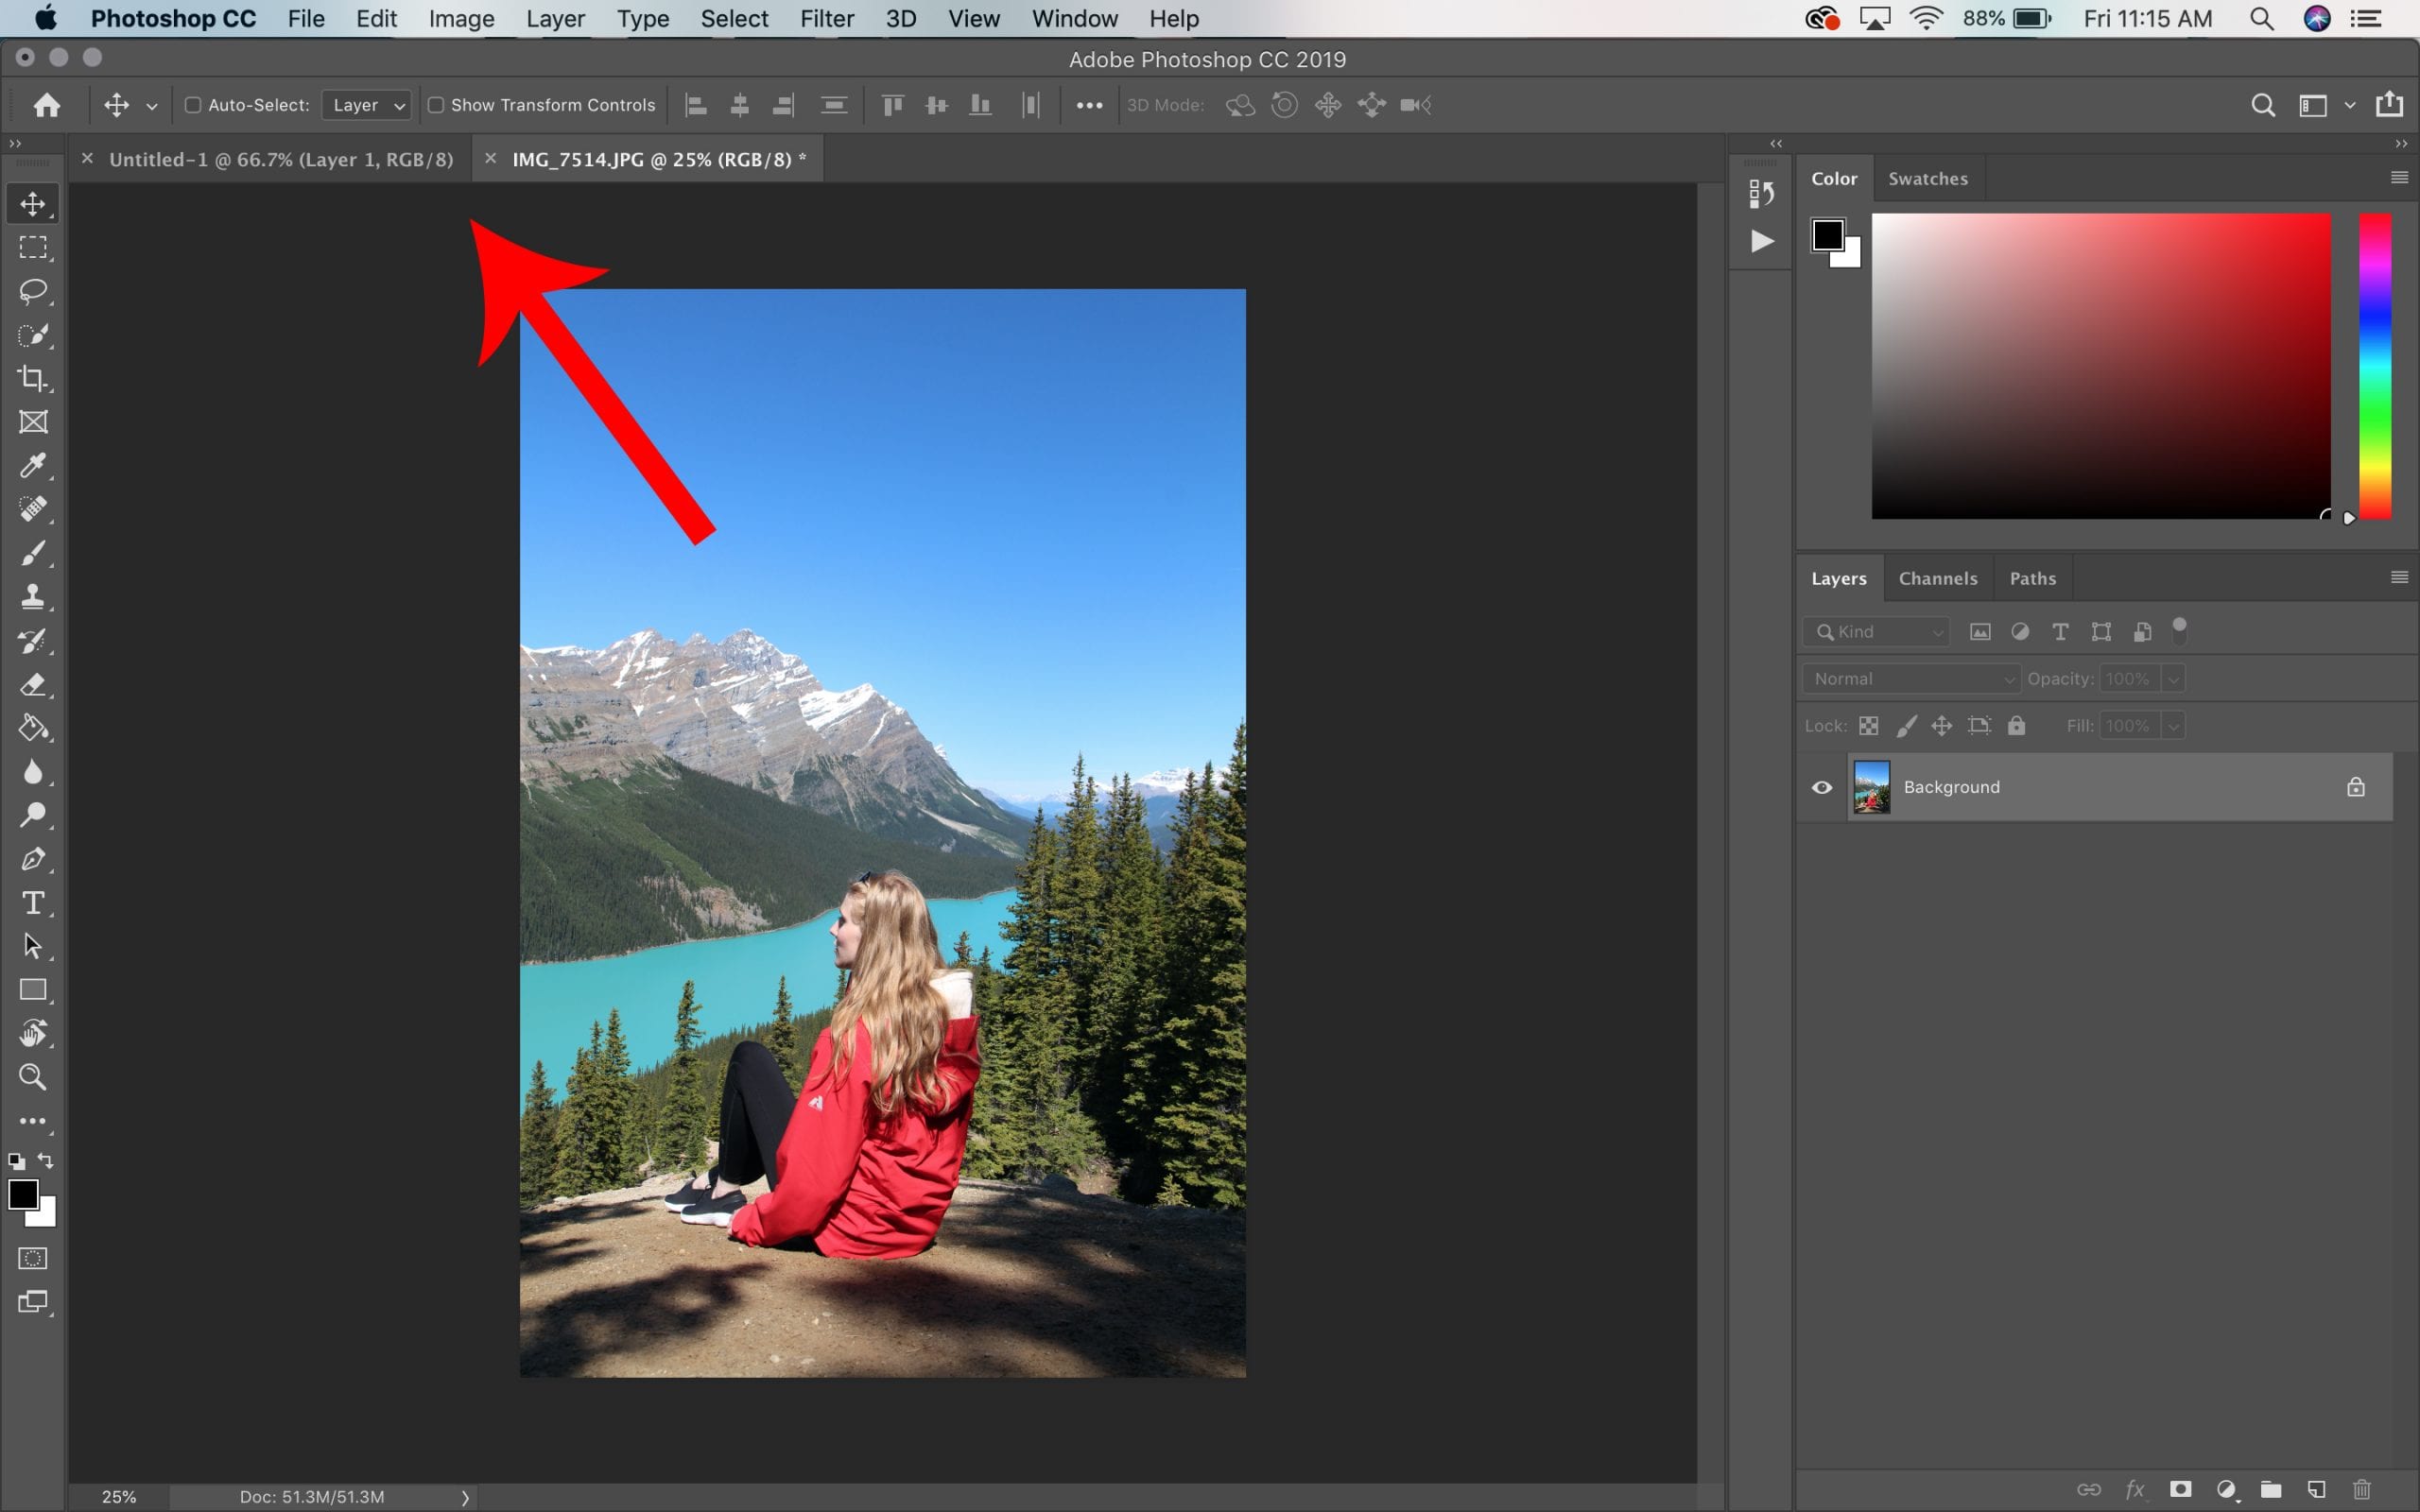
After opening the program (we are using the Creative Cloud edition) you are greeted with two options on the left side. 

  1. Create New 
  2. Open 

If you are looking to edit a photograph or work on a previously saved file, you can open that photo/file in the program by clicking “Open” or selecting the project from the centre of the screen. 

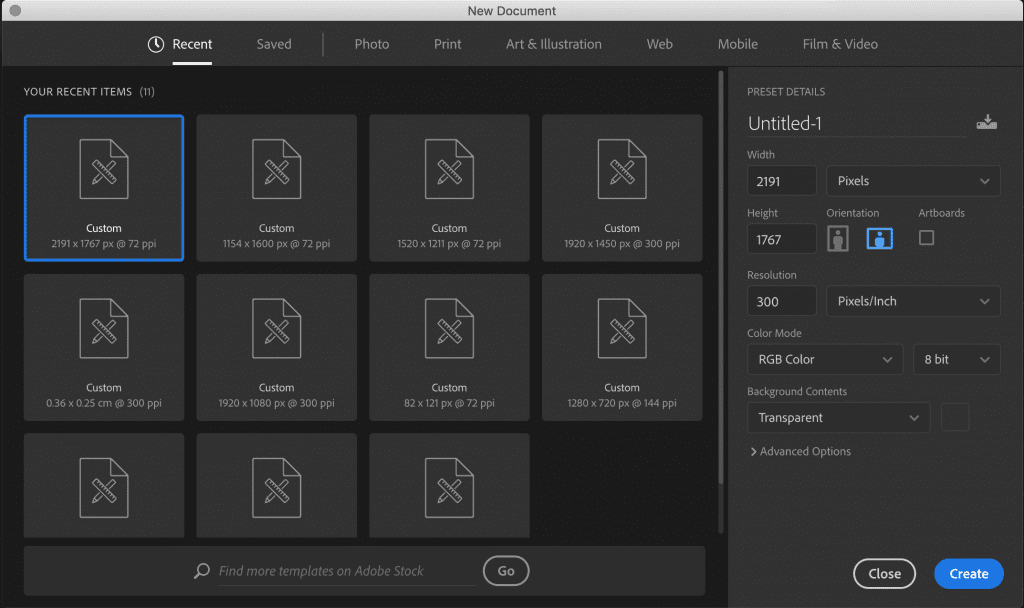
If you want to start with a blank composition, click “Create New”. 

Project Settings

Now it’s time to set some parameters for your project. Remember to name your file so you can find it easily later! 

On this screen you can choose the dimensions of your canvas, the resolution, colour mode and background contents. The dimensions vary depending on composition ideas, but normally I choose a higher resolution (around 300) and a transparent background. 

As for Colour Mode…RGB is normally used for the web, while CMYK is typically used for print. 

A Blank Canvas

We’re now ready to start bringing our vision to life! But first, let’s get comfortable with the interface of this program. With countless buttons and folders and menus, it can be a bit scary. Let’s go through some of our options together and get comfortable with the basic tools. 

Importing Material

Do you want to add a photo to your canvas? Great idea. To open a new photo, we will be using the TOP menu bar.

  1. Select “File” from the top menu bar on your screen
  2. Select “Open” 
  3. You may now choose your desired photo 

This photo will open in a separate tab within the Photoshop program. You can toggle back and forth between tabs. 

Bringing Images onto the Canvas

Now that we’ve opened our image in a separate tab, we’d like to bring it into the blank canvas we’re working on. To do this, we’ll need to select the entire image (or parts of the image) and drag it over.

We will be using the Marquee Tool and the Move Tool to do this.  

Marquee Tool

You can find this tool on the LEFT menu bar of the program. It looks like a square composed of dashed lines. 

  1. Select the Marquee Tool 
  2. Click and drag the tool on your image to make a selection 
  3. The tool will only select what you’ve dragged it over (in a rectangular/square shape) 
  4. We can now switch back to our Move Tool
  5. Grab the selected part of your image and drag it up to your blank canvas tab

Alternately, you can copy the selected part of your image and paste it into the blank canvas tab. Copy and Paste options can be found in the Edit tab in the TOP menu. 

Lasso Tool

Another option for selecting very specific parts of an image is the Lasso Tool. You will find this on the LEFT menu bar. Press the Lasso icon. You can now draw around the item you would like to transfer and follow the steps above. 

If you right click on the Lasso icon you will find some alternative tools to make the job easier. The magnetic lasso will snap to strong lines to help select without free-handing it.  

Quick Selection Tool

Another great tool for accomplishing this task is the Quick Selection tool. You will find this right under the Lasso.

Select this tool and click on the part of your image you’d like to cut out. Hold your mouse down and move around the item. The tool will select the area you trace over. Follow the steps above to bring your selection onto your canvas.   

Re-Sizing Images

Now that we’ve got the image on our canvas, let’s make it a bit smaller. We can do this by Transforming the image. This option can be found in the Edit tab. You can scale the image, rotate it, flip it, distort it, all kinds of stuff. Today we’ll just focus on scale and rotation. 

Scale your image down by manipulating the movement points on the edge of the image. Once you’re happy with your size, select Enter on your keyboard. If you are using an older version of Photoshop, hold Shift on your keyboard while scaling to keep the image in proportion. 

Adding Text

Perhaps you’re making a post for social media and you’d like to add a little bit of written information to the image. No problem, let’s add some text. 

  1. Select the Text icon from the LEFT menu bar (it looks like a “T”)
  2. Draw your text box onto the image in the size you’d like your text to be 
  3. Add your text 
  4. Along the top selection bar, you can change the font, colour and size of your text

To move the location of your text, remember to use the Move Tool. You can also use the Transform option to scale and rotate the text layer. 

What Are Layers?

Onions have layers and ogres have layers. Guess what? Photoshop has layers too! By adding text, you now have two layers on your canvas.

Take a look a the bottom right of your program. You’ll notice the Layers Panel. Here you can keep track of every part of your project. Your image and text are separate layers. This means you can manipulate one without changing the other. 

Adding Layers

Why don’t we add another layer to the project and play with some creative tools? 

  1. Select “Layer” from the TOP menu bar 
  2. Hover over the option “New” 
  3. Select “Layer” 

You can choose a fitting title for that layer and click enter. 

Shapes

On our new layer, let’s add a background behind our text to help it stand out. 

We’re going to use the Rectangle Tool. You can find it on the LEFT menu bar. If you’d like to create a different shape, right click the Ellipse tool icon to display some additional options.

Remember to customize your colour and stroke (shape outline) in the design panels above. 

Changing Layers

An important note about layers: keep in mind the first layer on the list in the Layers Panel is the top layer on the canvas. This item (whether it be text, shape or image) will appear on top of the other layers. If you’d like to bring something else to the forefront, simply grab the layer from the Layers Panel and drag it to the top of the list. 

Remember to click on the layer you’d like to work with before performing any transformations, movements, manipulations, etc.

Paint, Paint, Paint

Make a new layer and select the paintbrush icon from the LEFT menu bar. This is the Brush Tool. You’ll notice some additional related choices if you right click on this icon. 

With this tool, you can add doodles and designs to your canvas. That’s what we’ll be focusing on now. In future tutorials, we’ll look at some other uses for the brush tool. 

At the top of the canvas, you’ll notice some design options for the brush. You can change the colour of paint, the size of your brush and the opacity of the stroke. 

Eraser Tool & Undo

Perhaps you dislike the way your design looks and you’d like to erase part of it. That is easily done with the Eraser Tool. This tool can be used to erase your paint work, or parts of your images. Similar to the Brush Tool, you can adjust the size, opacity and style of your eraser in the design menu at the top of your screen.

You can also undo your last action by clicking Edit > Undo. 

Background

Maybe you decide you’d like to add a solid background colour to your canvas. You can do this when creating your project, but you can also add one later. 

  1. Make a new layer
  2. Select the Paint Bucket tool from the LEFT menu
  3. Choose your desired colour from the design menu at the top 
  4. Click on your canvas to fill the layer 
  5. Move that layer to the very end of the list in the Layers Panel to send it to the very back of the composition
In this example I re-sized the image so the background could become a border.

Saving Files

It’s important to save your Photoshop file throughout the process of editing. Program’s can crash and progress can be lost. So save, save, save! File > Save As…

Make sure to save a copy of your Photoshop project (.psd) in case you’d like to come back and adjust or add things later. If you’d like to save the file as an image, change the format to JPEG, PNG or whatever file type you require.

So there you have it! A very brief introduction to the wonderful Photoshop. But we’ve barely scratched the surface of what this program can do. We will continue to dive deeper into more specific tutorials in the future. It’s important to get comfortable with these basic concepts before moving forward, so practice! Don’t be afraid to make mistakes and explore different tools to find your favourite way of working. Above all, let your creativity flow and have fun! 

Scroll to Top