So you’re interested in shooting video? Wonderful! It’s one of the most rewarding experiences to put a video project together from beginning to end. It takes a ton of creativity, hard work and persistence to bring a story to life on screen, so we’ve put together a list of 10 Beginner Tips to help you get a better final cut.
1. Plan your video in advance
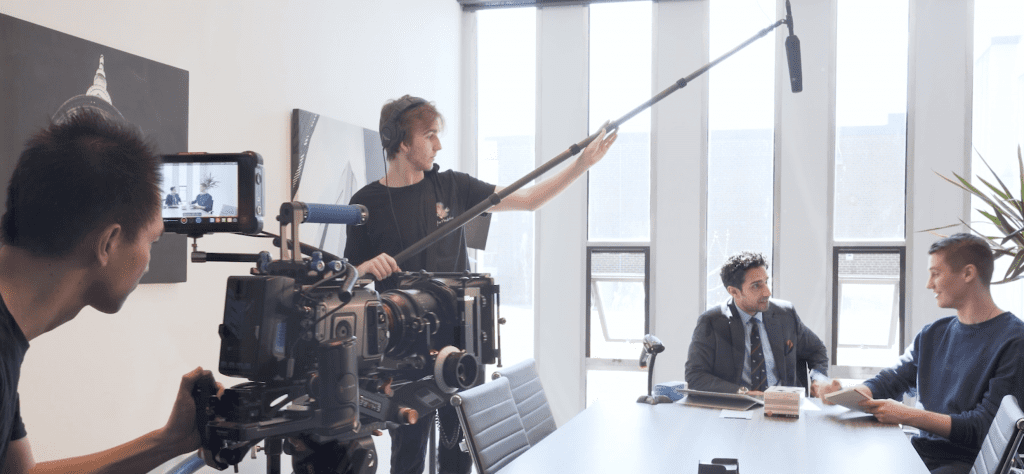
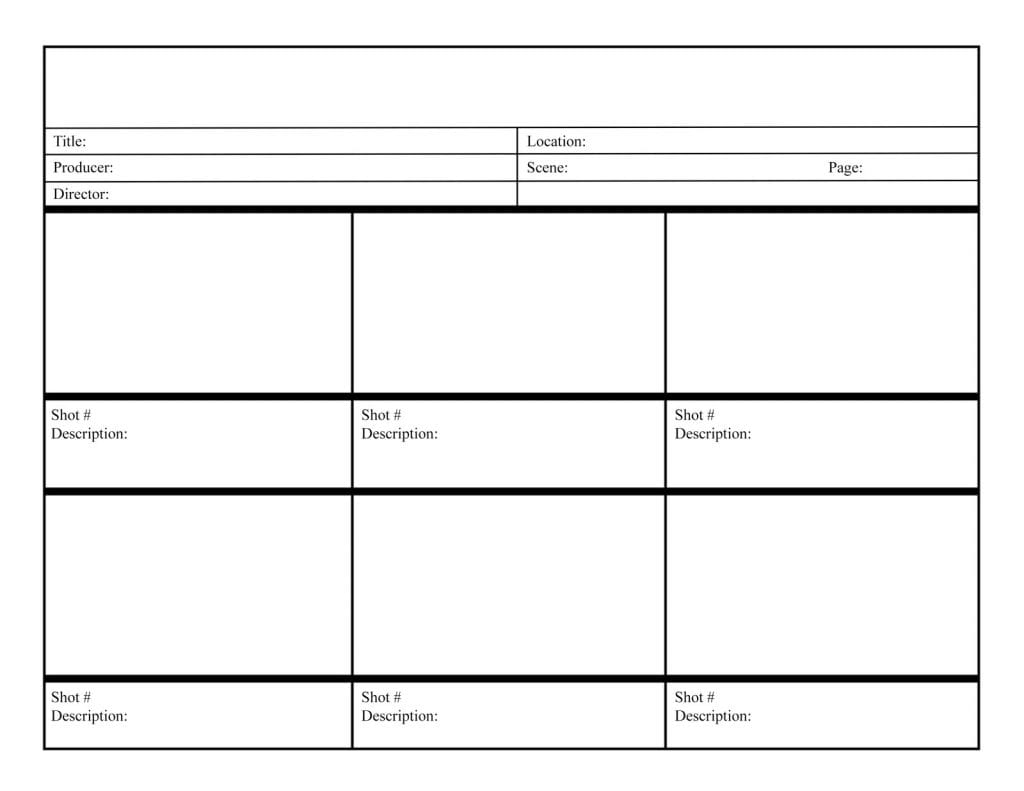
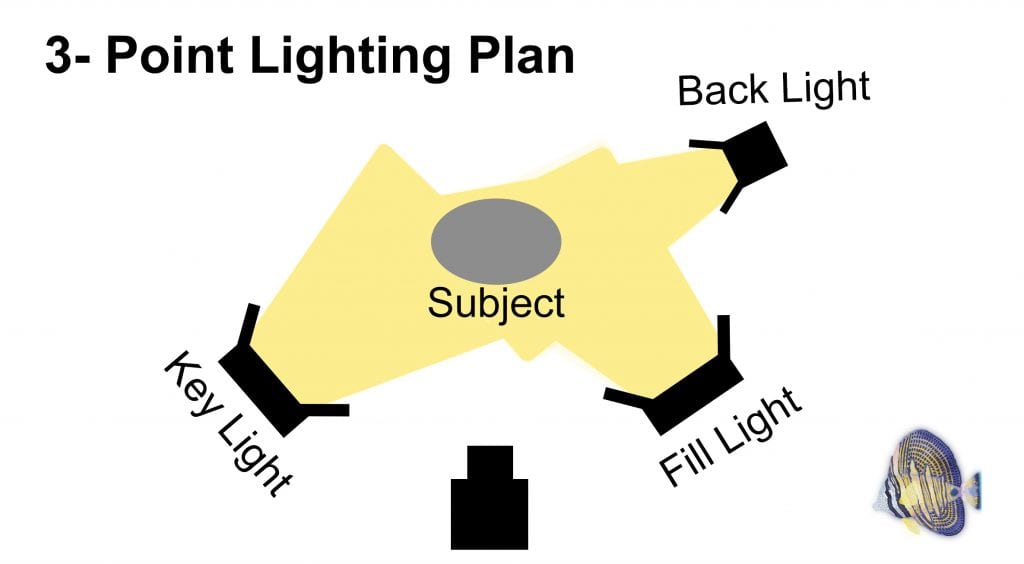
Before picking up the camera, make sure you’ve got a strong idea of how you want the final product to look. Storyboarding the video and following a production script will help keep filming on track.
Nobody likes jiggly, unfocused video footage. Make sure your camera is mounted on a tripod, slider or gimbal while filming to keep the camera in motion, but stable. The right kind of movement is definitely your friend.
3. Review your footage
We’ve all experienced that horrible moment when we forgot to press record or had the wrong settings on our camera. Never leave a shoot without looking through every single take (and the audio) to ensure you’ve captured everything you needed.
4. Proper lighting
Lighting is the key to success. A standard three-point lighting setup to illuminate interview subjects can definitely take your production up a notch. It’s also common in the video/photography world to avoid shooting in direct sunlight (it creates harsh shadows on the subject’s face).
5. Shoot your footage flat
Colour correction is an important step in achieving the desired tone/mood of the video. Shooting low-contrast and less saturated footage leaves room for colour alterations in post production.
6. Clear audio
Audio is 50% of a production, so don’t overlook it. Scope out the acoustics of your filming location prior to the shoot and invest in some recording equipment to capture crisp, clean audio.
7. Good editing software
If you’re a beginner, Final Cut Pro is great software for piecing your videos together. More advanced editors may prefer something like Adobe Premiere Pro for post-production. Both programs include basic colour correcting tools.
8. Organize your footage
Keeping footage organized will completely simplify your editing experience. Place each scene into a different folder, and filter through the unsuccessful takes before importing your footage into the editing program.
9. Take it easy with the crazy transitions & effects
We’ve all been there; you’re learning to edit and you pile on the visual effects. Remember that less is more. You don’t want viewers to be so distracted by all the effects that they miss out on the important story you’re trying to tell.
10. Ask for feedback
Before we see movies in the theatre, they’ve been critiqued by a test audience…the same goes with your videos. It’s easy to get attached to what we’ve created, so make sure a fresh set of eyes (or ten) give you some feedback before your final export.
Remember, practice makes perfect! It’s pretty darn difficult to shoot a Blockbuster the first time you pick up a camera, so keep working hard and bringing your own style to everything you film.